
We design, manufacture, and distribute a wide array of Tamper-Evident Cash Deposit, Evidence, Casino, and other bags for financial institutions, retailers, churches, restaurants, law enforcement, payroll firms and more.
If you’re a gardening enthusiast, you know how important it is to have good-quality soil for your plants to thrive.
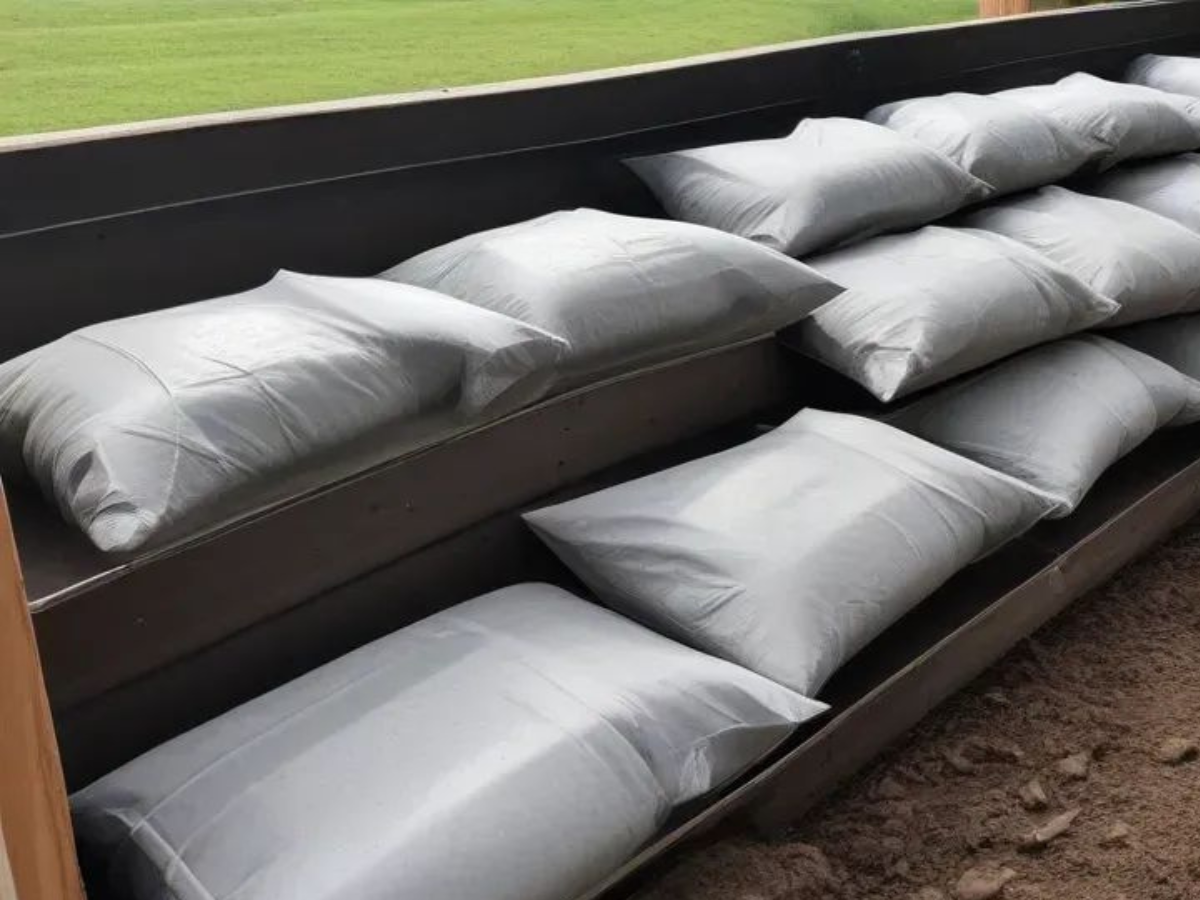
Soil bags, whether they be for flowers, veggies, or herbs, can greatly improve your gardening experience if they are organized and properly stored.
But what’s the best way to store them?
Let’s delve into some effective practices for organizing and storing your soil bags.
Before diving into the nitty-gritty of organizing and storing soil bags, let’s understand why it’s essential.
The quality of your soil is paramount for the health and vitality of your plants. Improper storage can lead to the degradation of soil quality over time.
Exposure to moisture, sunlight, and pests can affect its composition, making it less effective for plant growth.
By storing your soil bags correctly, you can preserve their quality and ensure optimal conditions for your plants to thrive.
If you’re a dedicated gardener with multiple bags of different types of soil, you know how quickly they can take up valuable space. Proper organization and storage can help you maximize your space and keep your gardening area tidy.
There’s nothing more frustrating than having to rummage through piles of soil bags to find the one you need for your gardening project.
A well-organized storage system ensures easy accessibility to the type of soil you require.
This way, you can save time and effort, allowing you to focus more on enjoying your gardening experience.
The first step to organizing your soil bags is to categorize them by type.
You likely have different soils for various purposes, such as potting mix, garden soil, or compost.
By sorting them into categories, you’ll make it much easier to locate the specific soil you need when planting.
Imagine the convenience of knowing exactly where to find that perfect potting mix for your indoor plants or the nutrient-rich compost for your vegetable garden!
Once you’ve sorted your soil bags, the next crucial step is to label them clearly. You can use waterproof markers or adhesive labels to indicate the type of soil and its purpose.
This simple yet effective step will prevent any confusion and help you identify the right soil quickly. No more guessing games or accidentally using the wrong soil for your plants – with clear labels, you’ll always know exactly what’s inside each bag.
Now that your soil bags are sorted and labeled, it’s time to consider how to store them efficiently. Instead of stacking them horizontally, which can lead to bags getting crushed under the weight of others, stack them vertically.
Vertical stacking not only saves space but also makes it easier to see the labels and access the bags without disturbing the entire stack. Say goodbye to struggling to retrieve a bag from the bottom of a precarious pile – with vertical stacking, your soil bags will be neatly organized and easily accessible.
Investing in shelving units or racks is a game-changer when it comes to organizing your soil bags. You may adjust the distance between shelves using adjustable shelves to fit a variety of sized bags.
Make sure the shelves are sturdy enough to support the weight of multiple soil bags, and consider investing in heavy-duty shelving units designed specifically for storing gardening supplies.
With a dedicated space for your soil bags, you’ll never have to worry about them cluttering up your garage or shed again.
If you’re short on floor space or simply want to maximize the use of vertical space in your storage area, consider utilizing hanging storage solutions. You can hang sturdy hooks or pegs on the wall and suspend the soil bags from them. Just make sure the bags are securely attached to prevent accidents. Hanging storage not only frees up valuable floor space but also keeps your soil bags easily accessible and neatly organized. It’s a win-win!
Storing soil bags properly is key to maintaining their quality and effectiveness.
To keep your soil bags fresh and ready for your gardening needs, here are some important storage guidelines.
Moisture is the enemy of stored soil. To prevent your soil from becoming waterlogged and losing its effectiveness, it’s crucial to store your soil bags in a dry location. Opt for a garage, shed, or basement with good ventilation, away from water sources and damp areas.
If you’re keeping soil bags outside, cover them with a weatherproof tarp to protect them from rain and snow.
Remember, a dry environment is essential for preserving the integrity of your soil.
Exposure to sunlight can have detrimental effects on stored soil. Not only can it cause the soil to dry out, but it can also lead to a loss of nutrients.
To shield your soil bags from the damaging effects of sunlight, store them in a shaded area. If storing them outdoors, consider using opaque containers to provide an extra layer of protection.
UV-resistant covers or tarps can also help prevent degradation due to sun exposure. By keeping your soil bags out of direct sunlight, you’ll ensure they remain nutrient-rich and ready for use.
Pests like rodents and insects are attracted to organic matter, including soil.
To keep pests at bay, store your custom soil bags in sealed containers or use pest-proofing measures such as traps or repellents.
Regularly inspect your storage area for signs of pest activity and take appropriate action if necessary. By keeping pests away from your soil bags, you’ll avoid contamination and ensure your soil remains safe for your plants.
Proper airflow is crucial for preventing mold and mildew growth in stored soil. Avoid packing the bags too tightly together, as this can restrict airflow and create the perfect environment for mold to thrive.
Leave some space between bags to allow for adequate ventilation. Periodically check for any signs of moisture buildup or mold, and take prompt action to address any issues. By maintaining proper airflow, you’ll ensure your soil remains fresh and mold-free.
Just like any other organic material, soil has a shelf life. It’s essential to check the expiry dates on your soil bags and use them before they expire to ensure optimal performance.
Expired soil may not provide the necessary nutrients for your plants and could potentially harm them. By keeping track of expiry dates and using your soil bags promptly, you’ll ensure your plants receive the nutrients they need to thrive.
Although it might seem like a simple chore, keeping soil bags organized and stored can make a big difference in how well your gardening projects turn out.
You can maintain your soil’s quality, freshness, and accessibility for all of your planting requirements according to the advice provided in this article.
All year long, you can enjoy vibrant, healthy plants if you keep these suggestions in mind!
Thus, get organized, put in some elbow grease, and watch your garden grow!


Proper evidence handling is the backbone of any successful investigation. From crime scenes to courtrooms, the integrity of physical evidence determines whether facts hold up

In modern healthcare environments, safe and reliable packaging plays a critical role in infection control, organization, and operational efficiency. From hospitals and clinics to laboratories

Packaging plays a critical role in retail operations, customer experience, and brand perception. One of the most important decisions retailers face today is choosing between